Connecting An Additional Touch Display
Connecting An Additional Touch Display

Keep in mind that these settings may look different depending on which version of Windows your system is running.
- Make sure the display is connected to the PC using the appropriate connections, as well as the provided power source.
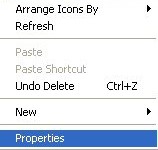
- Once the display is connected, right-click on the desktop of the Windows PC and select "Display Settings".
- Note, Windows 7 and Windows 8 has this listed as "Screen Resolution".
Windows 11:
Windows 10:
Windows 7/Windows 8:
Windows XP:
- On the Display Setting menu, scroll down until you see a section labeled "Multiple Displays".
- Located there or close by is a dropdown menu.
- Select "Extend These Displays".
- Windows will ask you to confirm these changes.
Windows 10/Windows 11:
Windows 7 / Windows 8:
Windows XP:
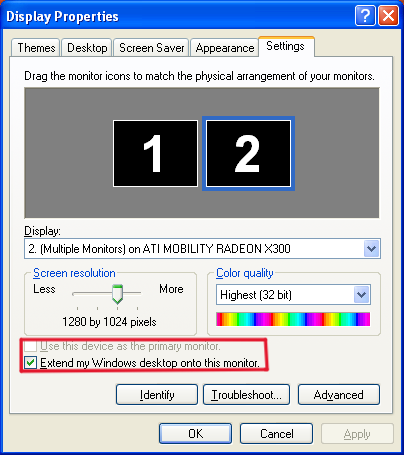

Note - When you select "Extend these displays" Windows will sometimes disable the touch capabilities of the PC.
Make sure you have a mouse and/or keyboard connected to be able to confirm these changes.
- Once you’ve extended the monitors, you will need to reconfigure the touch.
- Navigate to Control Panel -> Tablet PC Settings
- Click on Configure.
- On the main monitor, touch anywhere on the screen to confirm.
- On the secondary monitor, touch anywhere again on the screen to confirm touch.
- Touch should now be enabled on both monitors.